Your dog’s ears need regular cleaning. Skip it, and you’re looking at infections, odor, and a very uncomfortable pup.
But if you’re wondering how to clean your dog’s ears, it isn’t complicated. You don’t need special equipment or a vet degree.
All you need are the right supplies, a gentle approach, and a few minutes of your time.
This blog walks you through the entire process step by step. We’ll cover what to use, what to avoid, and how to make ear cleaning stress-free for both you and your dog.
What You Need to Know First
Dogs’ ears are shaped differently from human ears, which makes them more likely to have problems. Their ear canals are L-shaped, curving down and then to the side.
This shape protects their hearing but also traps moisture, wax, dirt, and bacteria deep inside.
Without regular cleaning, all that trapped debris creates a warm, wet environment where bacteria and yeast grow easily.
Ear mites can also move in, especially in dogs that spend time outdoors.
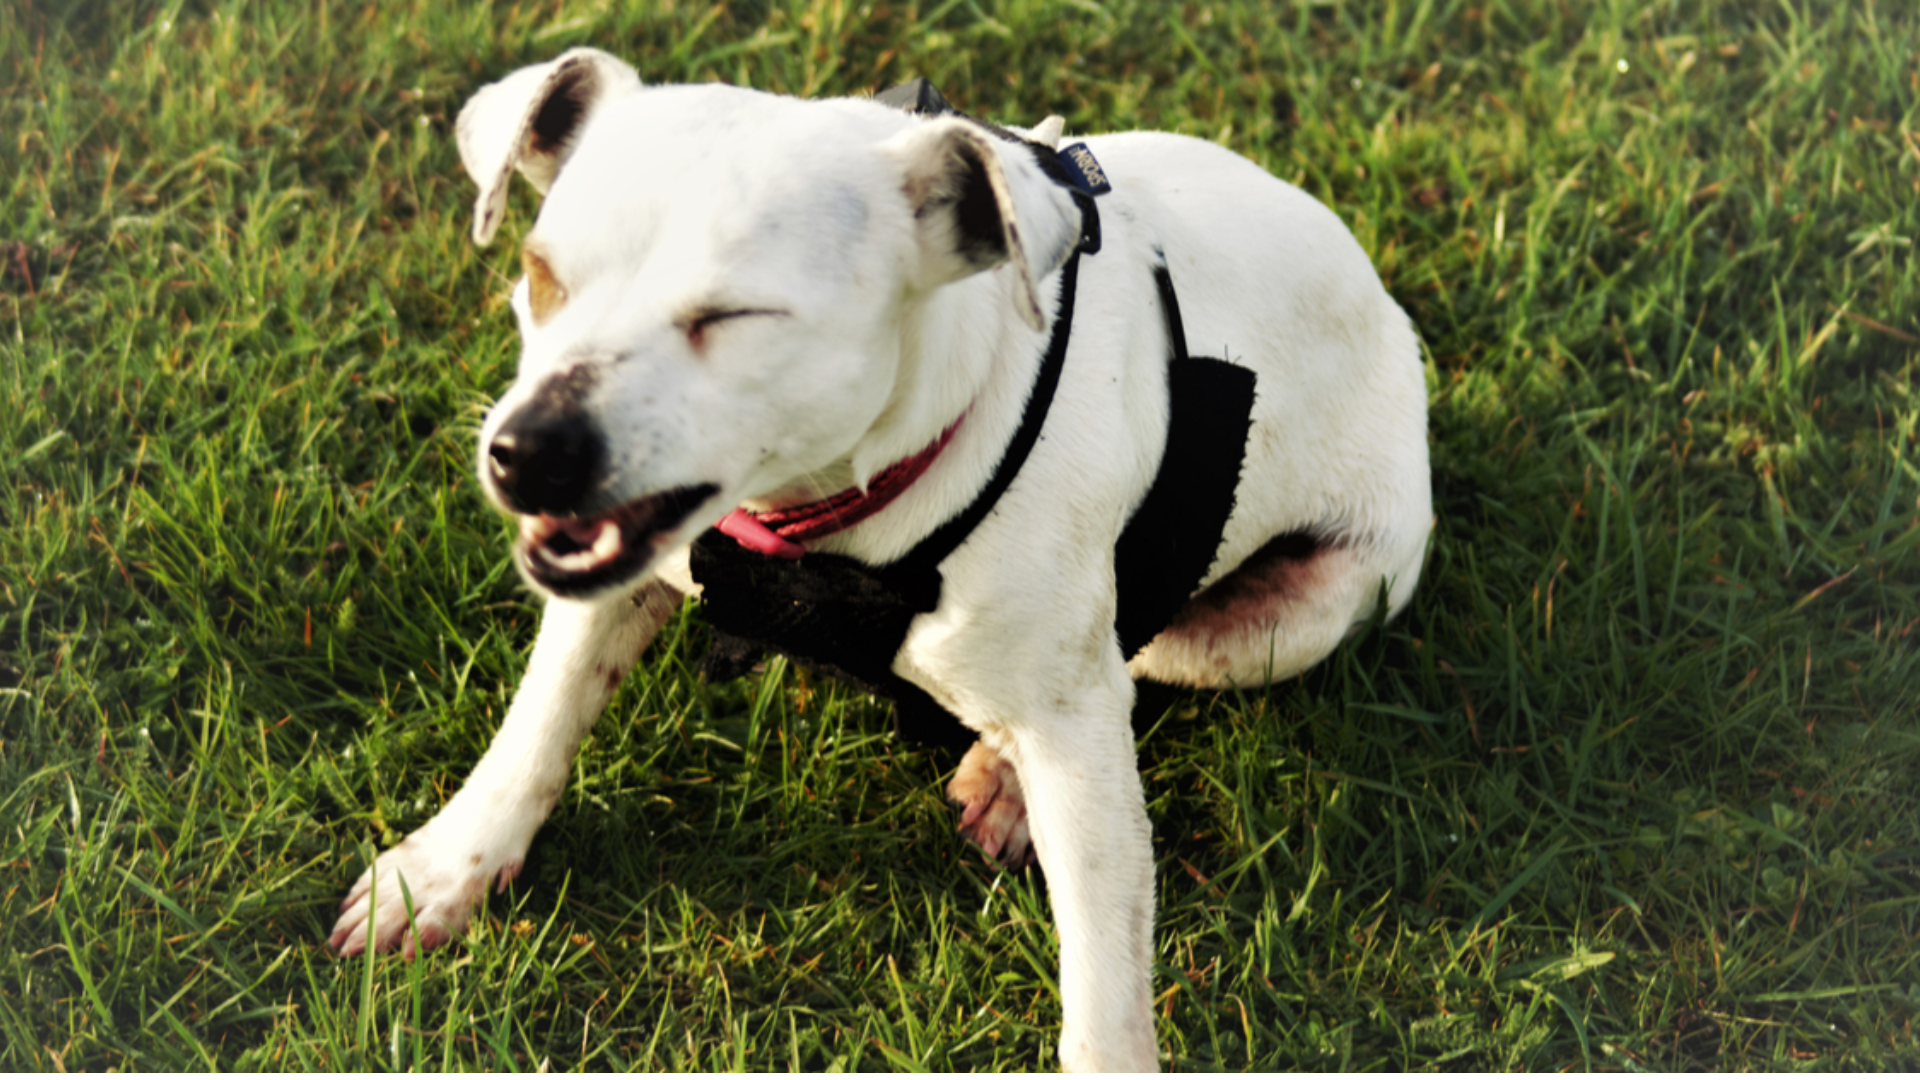
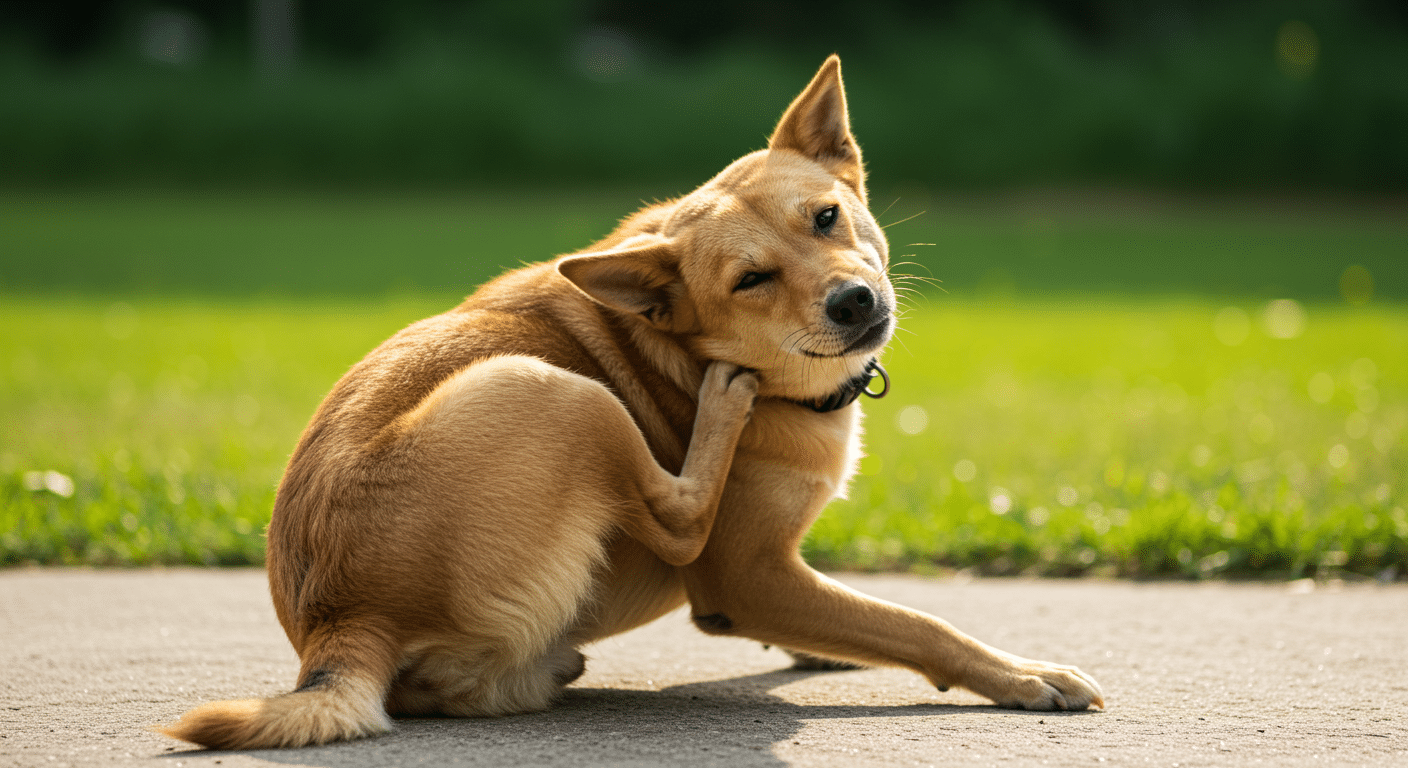
This can lead to painful infections, persistent inflammation, and constant scratching.
If left untreated, infections can damage eardrums and cause hearing loss. Your dog feels miserable and uncomfortable.
Regular cleaning prevents all of this. When you know what to watch for and how to clean properly, it’s actually simple.
How Often Should You Clean Your Dog’s Ears
There’s no one-size-fits-all answer. It depends on your dog’s breed, ear shape, and lifestyle.
Check your dog’s ears weekly. If they look clean and smell fine, skip the cleaning. Over-cleaning can irritate the ear canal.
Dogs That Need More Frequent Cleaning:
- Floppy-eared breeds (Basset Hounds, Cocker Spaniels, Beagles) have ears that trap moisture
- Dogs with hairy ear canals (Poodles, Shih Tzus), hair traps debris
- Water-loving dogs who swim or bathe frequently
- Dogs with allergies, excess wax, and inflammation
Dogs That Need Less Frequent Cleaning: Upright-eared breeds like German Shepherds or Huskies typically need less cleaning.
The key is to observe your individual dog and adjust based on what you see.
Step-By-Step Process: How To Clean a Dog’s Ears
Here’s how to clean your dog’s ears safely and effectively. Take it slow and keep your pup calm throughout.
Step 1: Get Your Dog Comfortable
Find a quiet spot where your dog feels relaxed. If they’re nervous, have someone gently hold them, or do this after a walk when they’re tired.
Use treats and praise throughout to keep them calm.
Step 2: Inspect the Ears
Look inside first. Check for redness, swelling, discharge, or foul smell. If you see warning signs, stop and call your vet.
Healthy ears should be light pink and relatively clean.
Step 3: Apply the Cleaning Solution
Lift the ear flap and squeeze the solution into the ear canal until it’s full. Don’t let the bottle tip touch the ear to avoid contamination.
Step 4: Massage the Base
Gently massage the base of the ear for 20-30 seconds. You’ll hear a squishing sound as the cleaner breaks up wax and debris.
Step 5: Let Your Dog Shake
Step back and let your dog shake their head vigorously. This expels loosened debris and excess cleaner from deep inside the ear canal.
Consider doing this outside or in a bathroom; it gets messy. The shaking removes material from areas you can’t reach. Expect brown or yellowish debris to fly out.
Step 6: Wipe Away Debris
Use cotton balls or gauze to gently wipe away debris from the outer ear and ear flap. Work from inside out, using a fresh cotton ball for each wipe.
Only clean what you can see. Never stick anything deep into the canal or use cotton swabs inside the ear.
Step 7: Repeat on the Other Ear
Follow the same steps for the other ear. Give treats and short breaks if your dog gets restless.
If your dog becomes too stressed, it’s okay to do one ear at a time until they adjust to the process.
Step 8: Reward Your Dog
Finish with praise, high-value treats, and playtime. Positive associations make future cleanings easier and less stressful.
End on a good note, even if the cleaning didn’t go perfectly. Your dog will learn that ear cleaning leads to good things.
What Should You Use to Clean a Dog’s Ears?
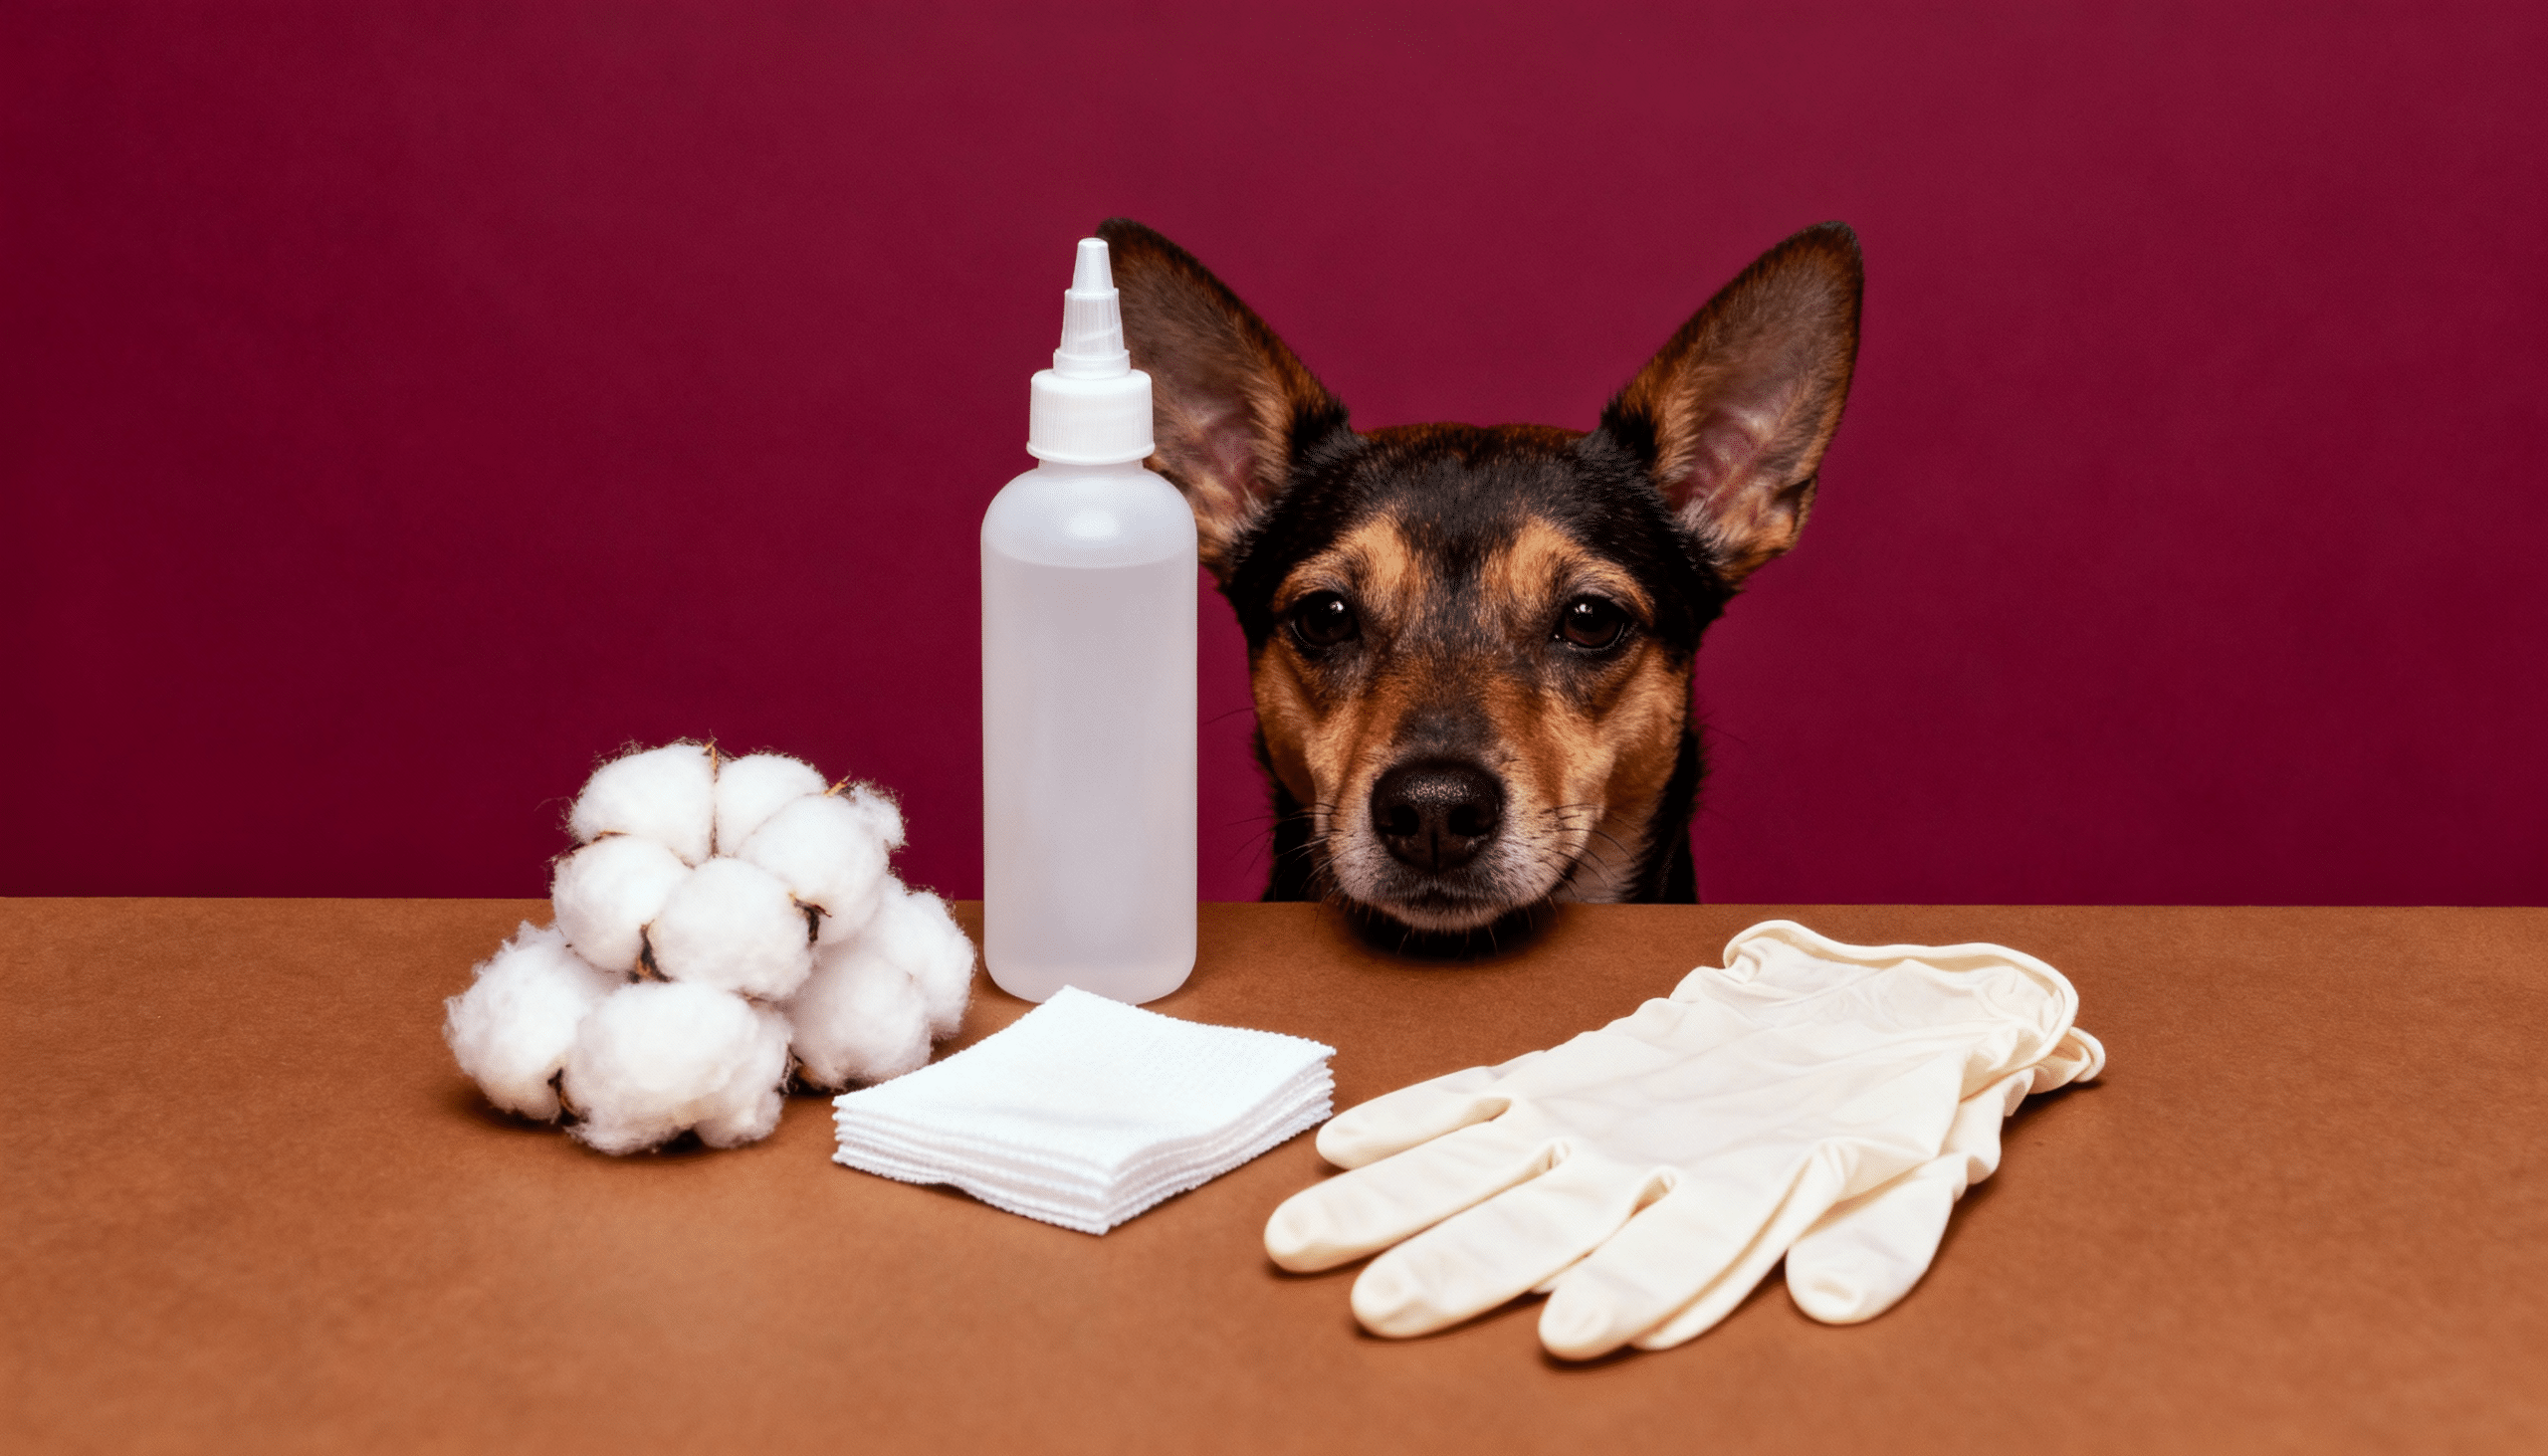
Using the right supplies makes ear cleaning safe and effective. The wrong products can damage your dog’s ears.
Vet-Approved Ear Cleaning Solution
Never use water, hydrogen peroxide, or alcohol; these irritate the ear canal.
Look for:
- pH-balanced formulas made for dogs
- Drying agents that break down wax
- Brands like Virbac, Zymox, or Veterinary Formula
Ask your vet for recommendations if your dog has sensitive ears.
Cotton Balls or Gauze Pads
Use these to wipe away debris and excess cleaner from the outer ear. They’re soft and won’t leave fibers behind.
What NOT to Use
- Cotton swabs: Push debris deeper, which can damage the eardrum. Use only on the outer ear folds.
- Homemade solutions: Water, vinegar, hydrogen peroxide, and alcohol cause irritation and worsen infections.
- Human ear products: Wrong pH balance and too harsh for dogs.
Stick with vet-approved products designed for dogs.
Common Mistakes to Avoid While Cleaning a Dog’s Ears
Even with good intentions, mistakes can harm your dog’s ears. Here’s what to avoid.
- Using Cotton Swabs Inside the Ear Canal: They push debris deeper into the ear and can rupture the eardrum. Stick to cotton balls and only clean what you can see.
- Over-Cleaning the Ears: Strips natural oils, leading to irritation. Clean only when you see buildup or smell an odor, not on a strict schedule.
- Using Water or Homemade Solutions: Never use water, vinegar, or hydrogen peroxide. They disrupt pH balance and trap moisture. Always use vet-approved cleaners.
- Skipping the Massage Step: Without massaging after applying the solution, the cleaner won’t break up the wax effectively. Always massage for 20-30 seconds.
- Cleaning Infected Ears at Home: If you see thick discharge, severe redness, or smell a foul odor, don’t clean at home; the infection needs prescription medication, and attempting to clean it yourself can push bacteria deeper and worsen the problem.
- Not Rewarding Your Dog: Always use treats and praise. Positive experiences make future cleanings easier.
When to See a Vet for Ear Problems
Call your vet immediately if you see thick, dark, or bloody discharge; strong foul odor; extreme redness; visible sores; or if your dog yelps when touched.
Behavioral changes like head tilting, loss of balance, or intense scratching need urgent attention.
Contact your vet if ear problems keep returning, home cleaning doesn’t help within 2-3 days, or you notice infection signs like hot ears, swelling, crusty buildup, or pus.
If you’ve never cleaned your dog’s ears before, visit your vet first for proper guidance.
Early treatment prevents minor issues from becoming serious infections that can permanently damage hearing.
Tips for Maintaining Healthy Ears
- Regular Inspections: Check ears weekly for signs of infection, moisture, or swelling.
- Keep Ears Dry: Dry ears after baths or swimming, and use pet-safe ear wipes when needed.
- Don’t Over-Clean: Clean ears only when necessary to avoid irritation. Use gentle, vet-approved cleaners.
- Watch for Infection: Look for signs like scratching, head shaking, bad odor, or discharge.
- Trim Ear Hair: Keep hair around the ears trimmed to prevent moisture buildup (especially in breeds with floppy ears).
- Vet Checkups: Have your vet check your dog’s ears during routine visits, especially for breeds prone to ear issues.
These simple steps will help keep your dog’s ears healthy and free from infections.
The Bottom Line
You now know how to clean your dog’s ears safely. Inspect first, apply cleaner, massage, let them shake, and wipe away debris.
Some dogs need weekly cleanings; others need less. Watch for warning signs and never clean infected ears; that’s a vet’s job.
Start today. Add ear checks to your routine and keep your dog’s ears healthy and comfortable.